Manual Height Adjustable Table
Sometime ago, we purchased a manual height adjustable table frame from PrimeCables.
The quality of the frame is really good. It feels very heavy duty (also it is quite heavy but it comes in a box with handles so this helps). Overall, the frame feels like it will last through a lot of wear and tear for years to come, and it’s a really nice option especially here in Canada
Note however, as they sell only the frame, one has to find the table top elsewhere.
Please keep in mind the recommended top size from the manufacturer.(which can be found in the PrimeCables site above)
One good option is Ikea which sells a couple of particle-board and wood tops for every budget, from affordable particle-board composite materials to higher-end wood tops. (Ikea table tops)
For us, we wanted a durable top that we could re-use for years to come, and while a particle-board composite was a really nice option that is sufficient in 90% of the cases, sometimes the top laminate tends to get scratched over time and can not be sanded down or re-finished for re-use. So we thought if we could get a desk top of solid-wood with our desired dimensions for a similar price that was the preferred alternative.
The Ikea Gerton table top was a nice alternative but its width was a little bit short for our requirements. We wanted something in the ballpark of 180cm by 65cm or so (given both office and personal computers and monitors would have to seat on the same desk).
After much research, we stumbled upon a very nice choice from Home Depot. Turns out, the dimensions for kitchen wood countertops are basically perfect for what we were looking for, plus the prices for some of the wood counter tops were similar to Ikeas’ prices.
After going over all choices for wood countertops from Home Depot, we settled for the Interbuild Acacia counter-tops as these were 1” thin and a bit lighter and more affordable than other choices. (For our application 1” thin is more than sufficient for the weight bearing, and light is much appreciatted, as anyone that has moved wood furniture can tell you)
At this point there are two options for assembling the adjustable desk:
- If you purchased a light particle-board top (such as the Ikea Linnmon), the easiest way would be to follow the manual and drill appropriate holes for the wood screws included in the package.
- If you purchased a wood countertop that you intend to maintain and re-use,
- you can also keep things nice and simple following the method above.
- Another option, is to make use of insert nuts to make assembly and dissasembly easier (withouth having to screw/unscrew on the wood everytime).
The remaining of this quick guide covers the use of insert nuts (2.2) to make the assembly/dissasembly process a bit easier on the wood.
Having settled on the counter top, we needed to get all other materials needed for assembly. We followed the helpful guide which is primarily intended for the Ikea adjustable table frame, but worked well for the PrimeCables table frame. (with a couple of very minor modifications)
So, prior to starting, go on and read the guide to get a good idea for the little project ahead.
We are very grateful with the authors of the Ikea guide :), and for the most part have followed similar steps below, modified to the PrimeCables frame base and Canada Home Depot links instead ;)
Tools/Materials
Get the tools and materials needed. (updated for PrimeCables table frame)
I have added some helpful links below for those in Canada, where this is probably most applicable. (If some of the links are no-longer available, you can search by the description for similar items)
- 1 x Primecable adjustable frame
- 1 x table top (see links above for options)
- 14 x 1/4in - 20 x 13mm insert nuts
- 14 x 1/4in - 20 x 3/4in machine screws
- (opt) boiled linseed wood oil (for wood protection as applicable if wooden top)
- (opt) 14 x 1/4in flat washers
- Can skip washers if you have a drill bit set to make the appropriate diameter holes.
Also, the following tools (if you don’t already have them):
- Power drill
- Drill bit kit (including 11/32” and 9/32”)
- Masking tape
- Screwdriver
- Allen Wrench (included with PrimeCables frame package)
- Pencil and tape measure.
Instructions
1. Assemble Frame
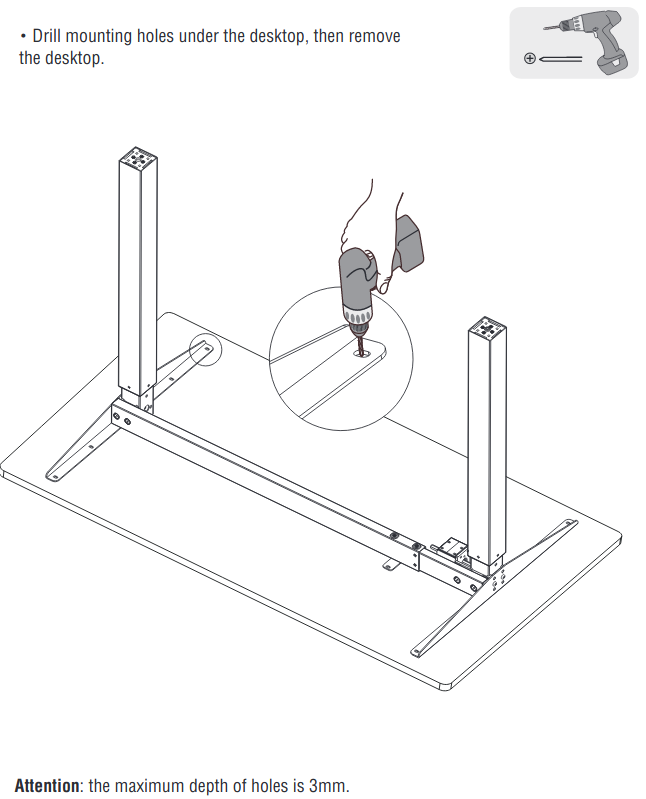
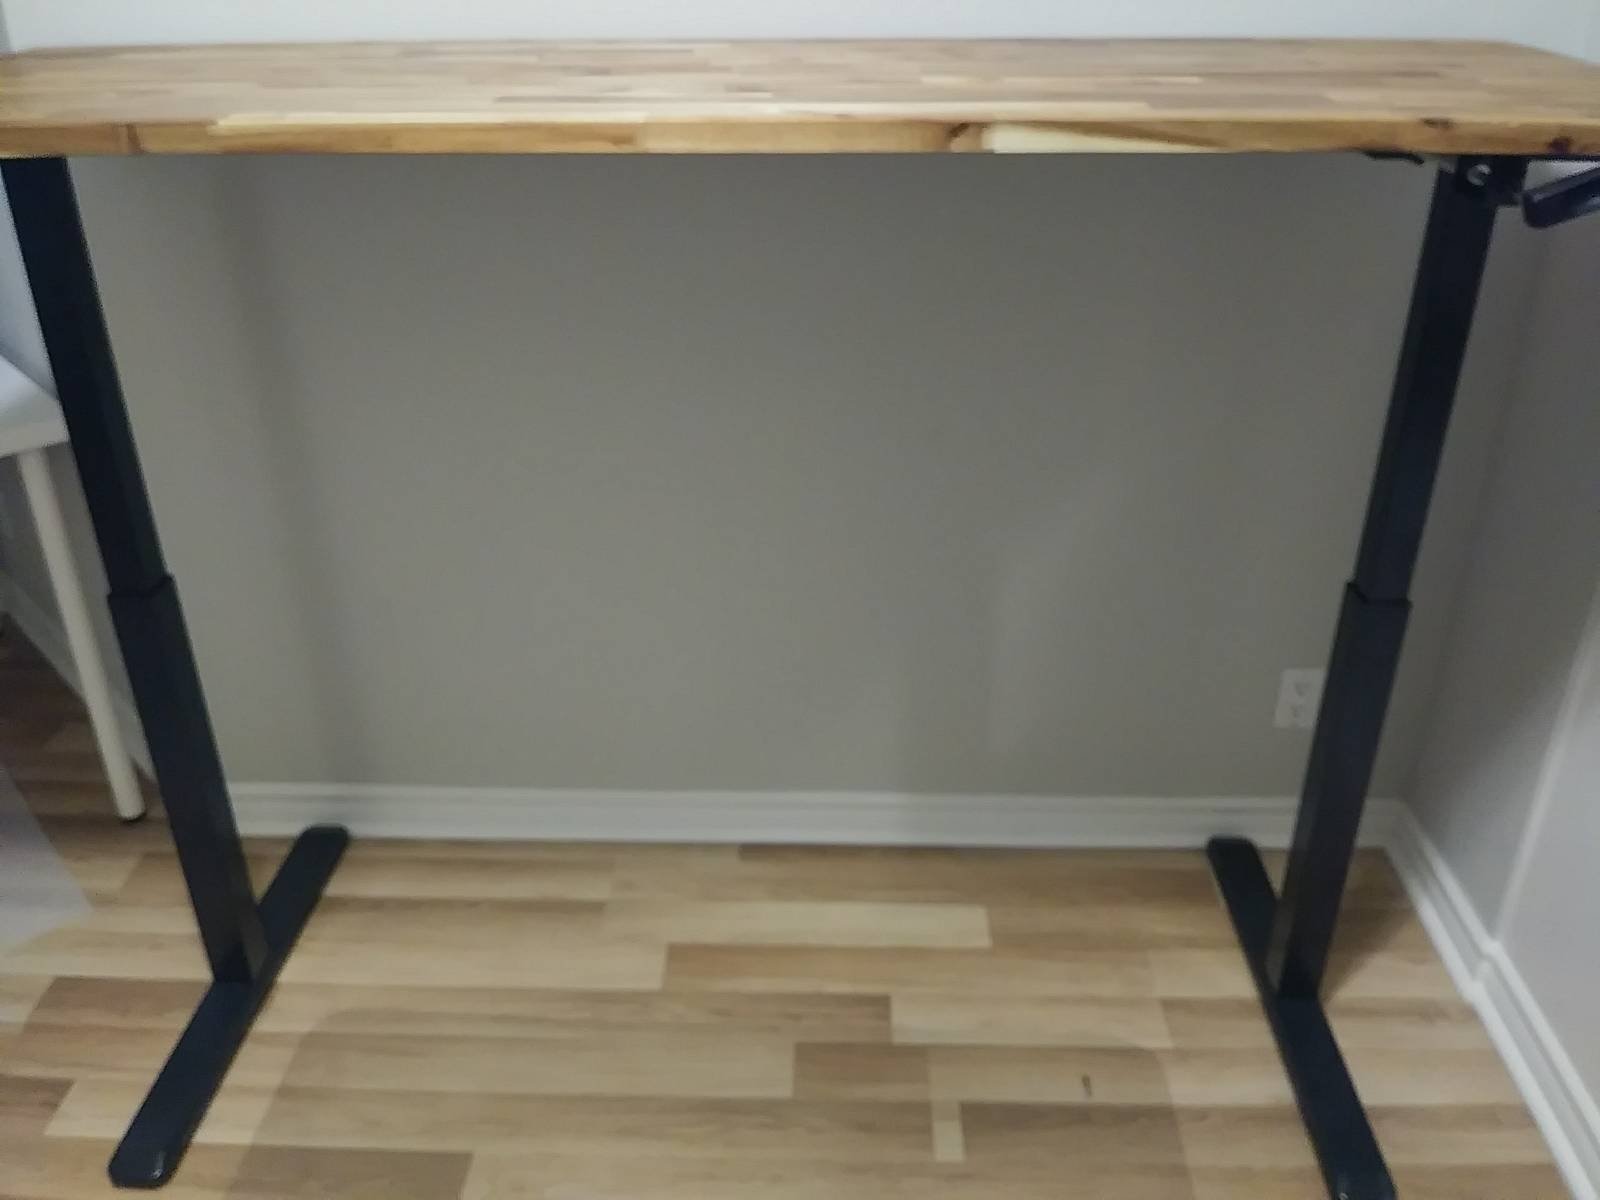
Follow instructions from manual, up until the point where drilling on the wood top is required. (see picture above)
2. Prepare table-top
At this point, keeping the frame on the wood top underside:
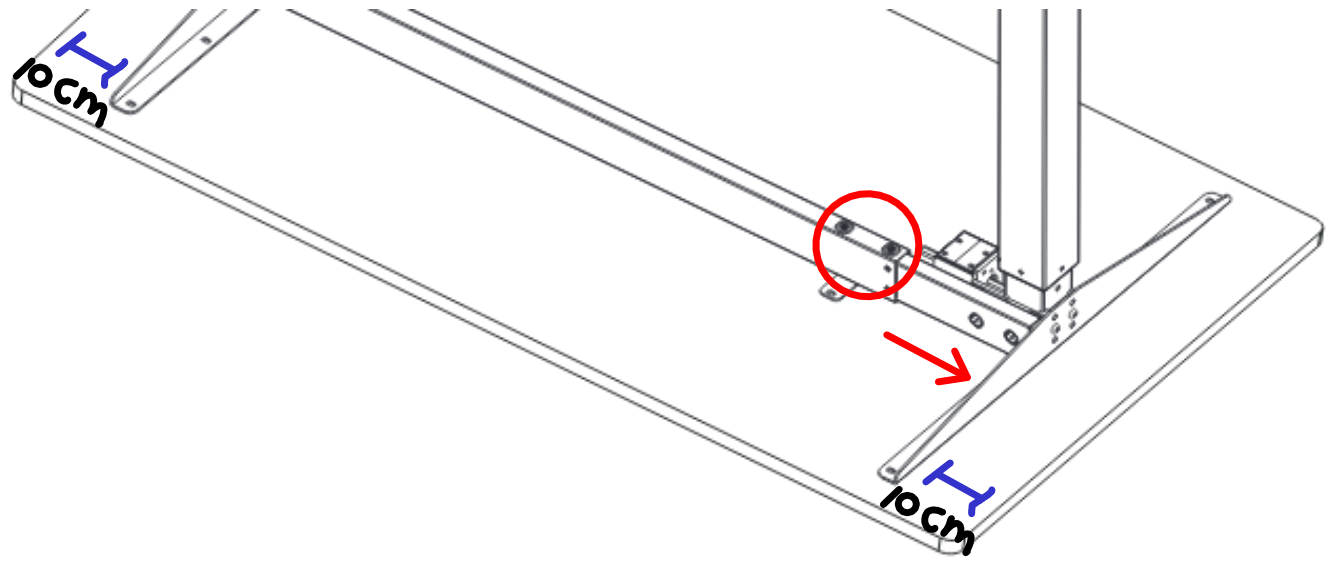
- Extend the legs until the legs are about 10cm from the edge (sides) of the wood top, see picture below.
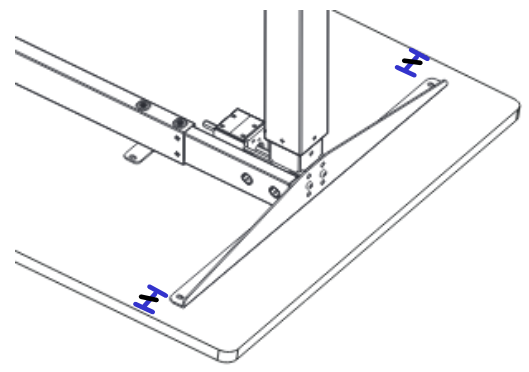
- Center the wood top in the middle of the frame. Measure equal distance from both top and bottom sides, as shown in the figure below.
- Mark the location of all the holes (where you would need to drill) with a pencil.
- Four on each side plus the two in the middle
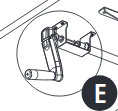
- Also the ones you will need for the rotating handle (shown below)
- You can also draw guide lines around the frame rails to help position the frame if it moves.
3. Now, the action
Remember measure twice, ‘drill’ once.”
Move the frame aside from the wood top, then
- Using the 11/32 drill bit, drill the holes where you placed the marks.
- Remember to use masking tape to help you drill to the exact 5/8” depth.
- Then place the frame to align on top of the holes and use a 19/64 drill bit, to make the metal holes on the
frame slightly larger to fit the machine screws.
- Remember to use masking tape as a helpful guide.
- If you are using the drill to widen the holes for the rotary handle screws, make sure the handle
is hard in place, you can use a vise for this.
- Be careful, else the drill could kick and bend the rotary tool handle if it is not hard in place.
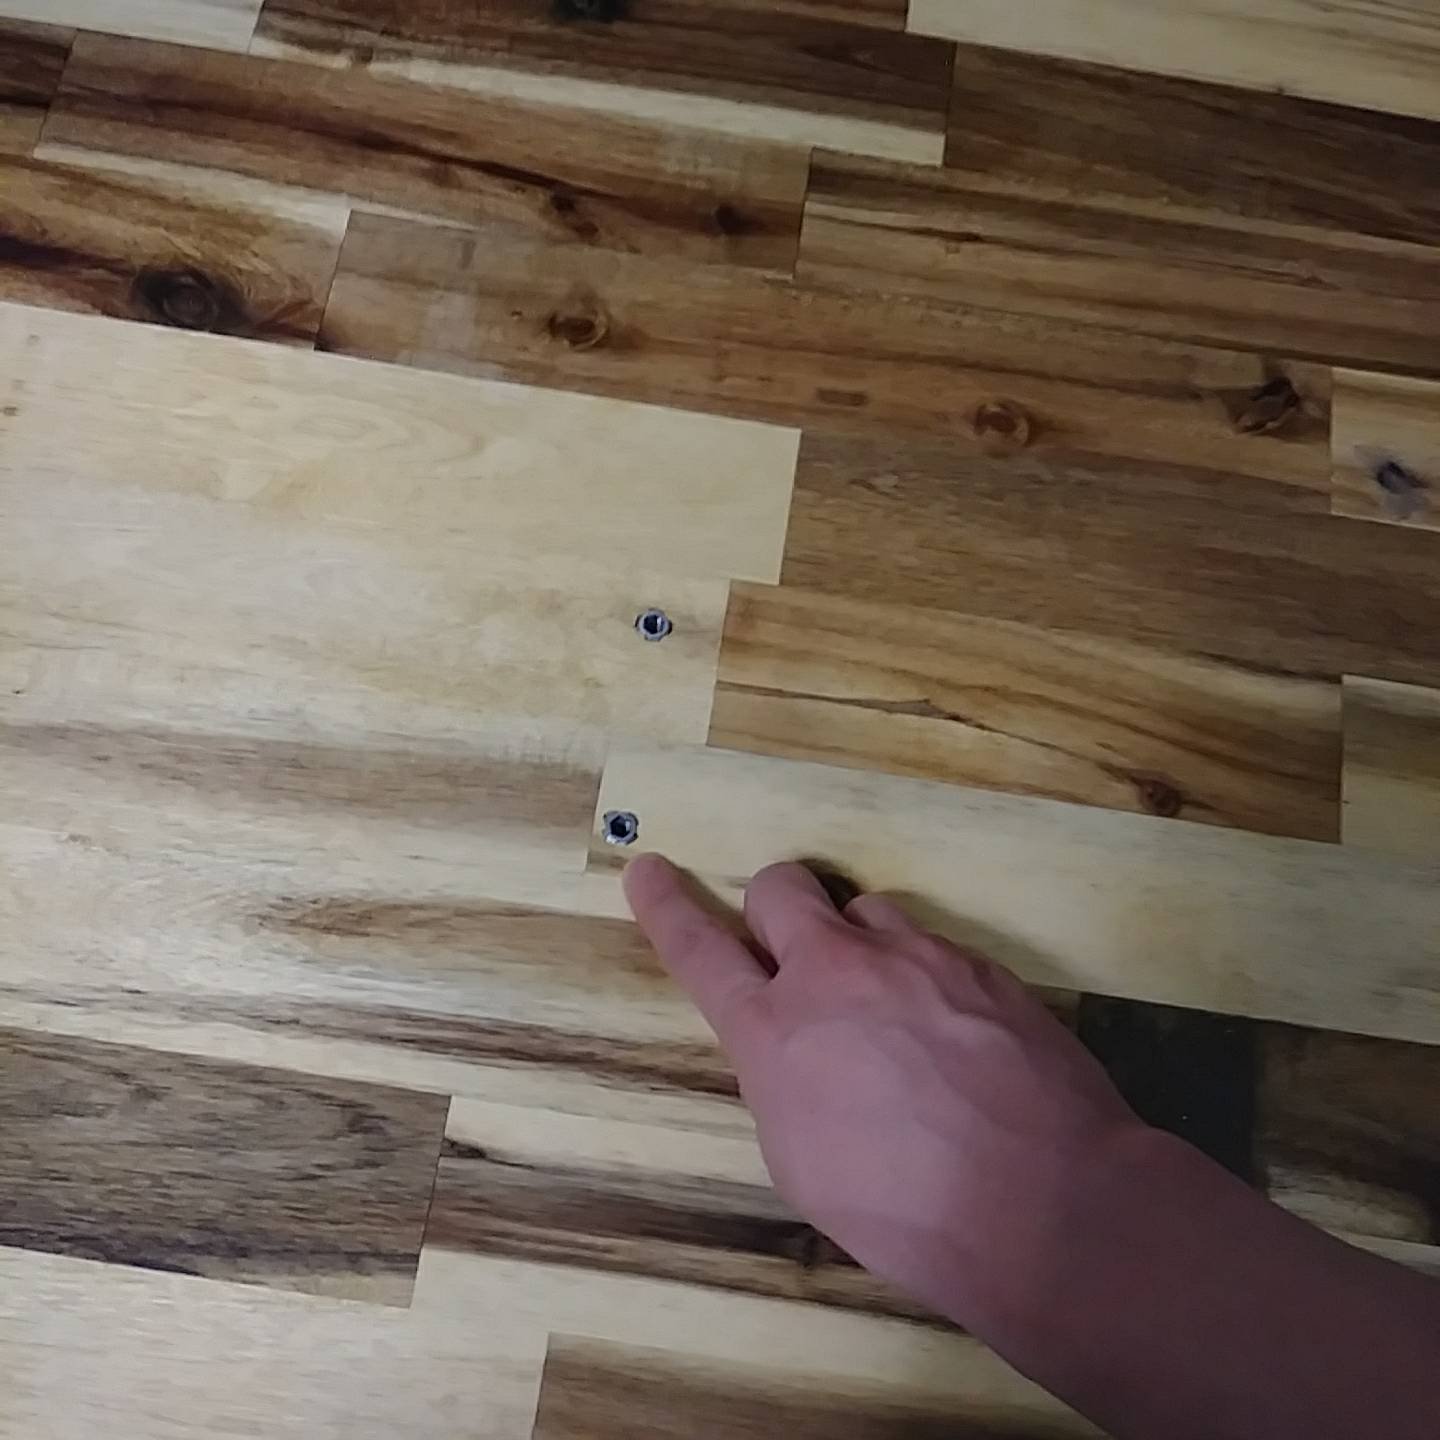
- Hammer the insert nuts in all the holes, until they are flush with the wood
If you need or want to provide a finishing to the wood skip to step 4 below, else if the wood comes already sealed, you can finish the assembly of the table:
- Just screw-in all the machines screws and attach the wood top to the frame and continue on with
the manual instructions
- It is easier to screw in the wood top in this step.
4. Wood finishing (a bit of protection)
Only applies with a wood top if you want to provide additional protection to the wood (or highlight the looks)
Remember with BLO, you need to handle oiled rags appropriately, else it could be a fire danger
The choice of BLO for wood oil mostly came down to finding a naturally derived, easily available and affordable wood oil to avoid toxic fumes in the small apt we live in. We learned, most wood finishing substances nowadays involve toxic solvents or chemicals which give out fumes you want to avoid (once you read the material safety datasheet MSDS).
So, let’s start.
Unscrew the top from the frame (if applicable), and with the frame in it’s normal upright position:
- Place some cardboard over the frame rails to avoid any scratches to the wood
First start with the underside of the wood:
- Place the wood top on top of the frame rails, underside up facing you.
- Starting with the wood top underside will give you a bit of practice. (before tackling the top of the wood)
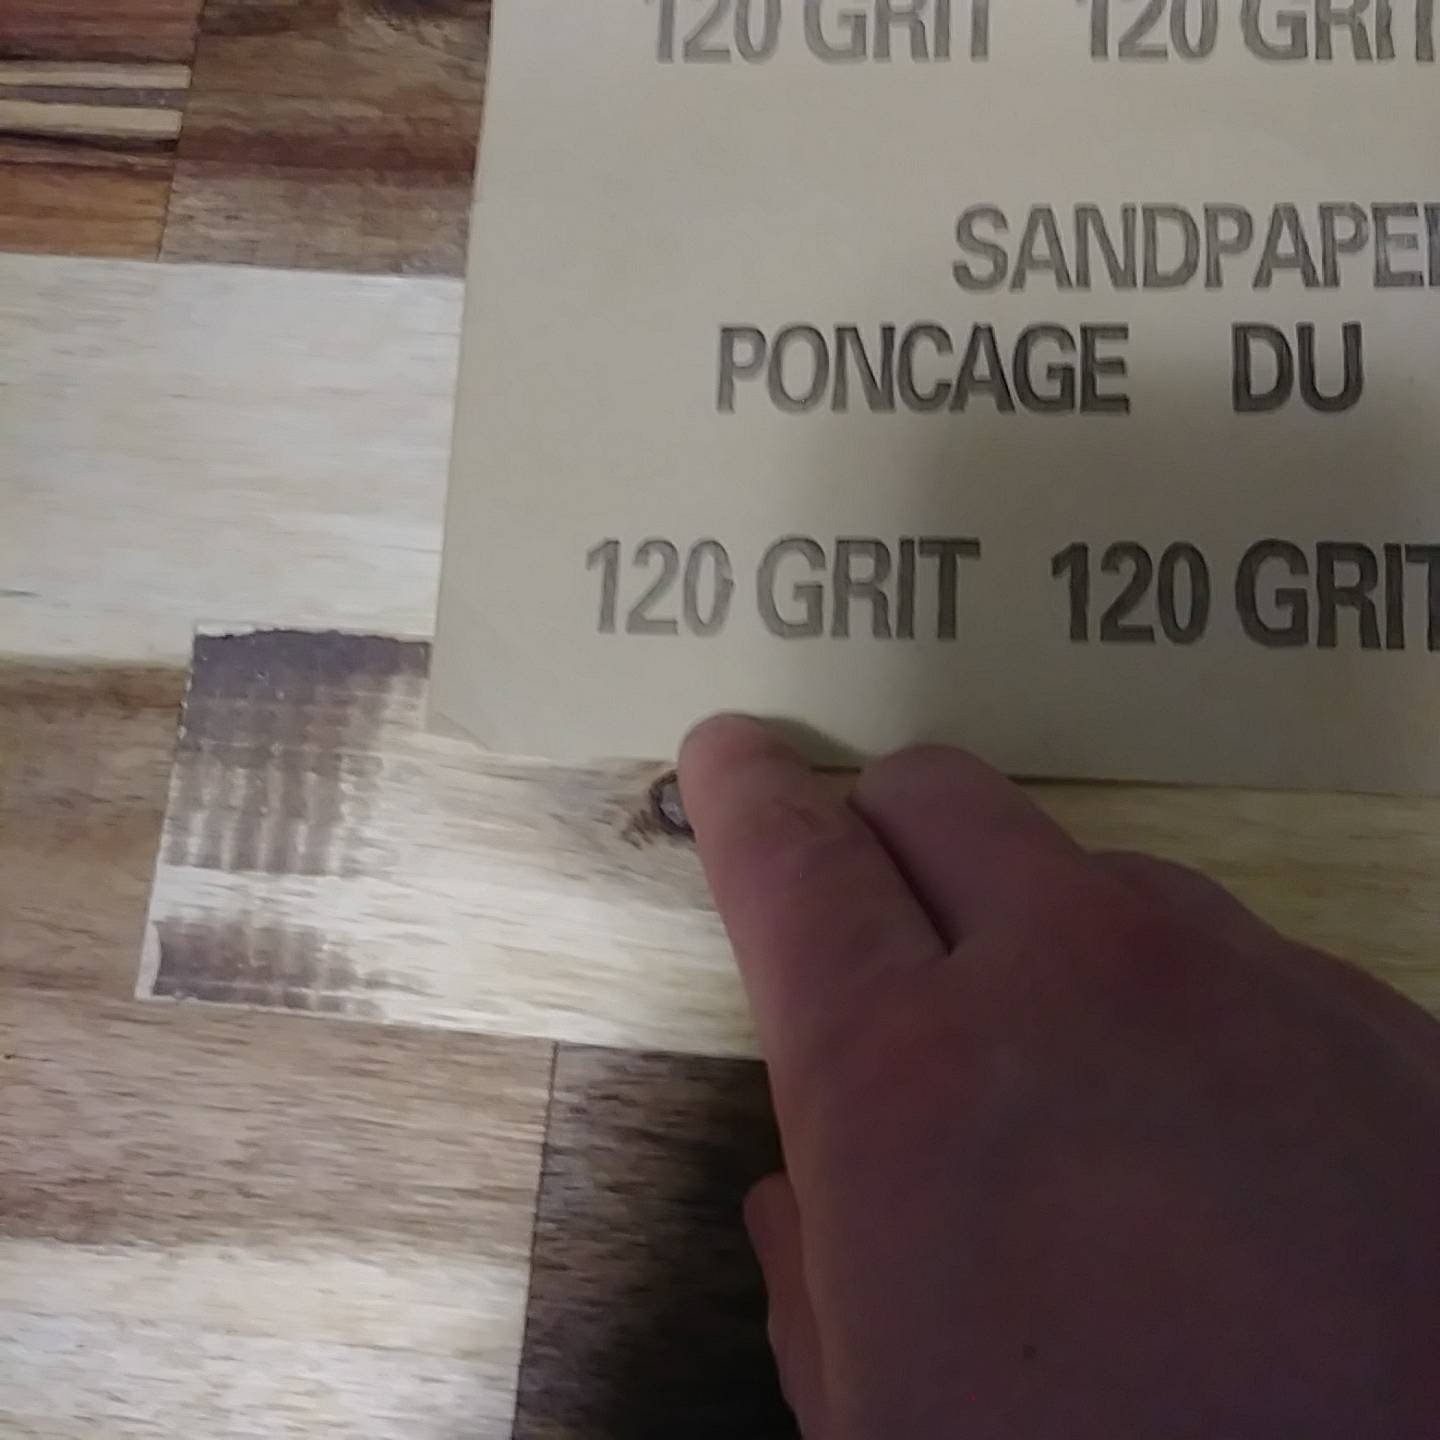
- Sand as needed to remove surface unevenness or rough spots
- Use 120 or 100 grit for small rough spots
- Clean wood dust
- Apply wood oil. (you can use a clean cloth rag)
- Apply only a thin layer of BLO, multiple thin layers are better than thick uneven layers.
- Leave to dry for 24 hours
Next day, do the top side of the wood, repeating the process:
- Flip over wood top (front facing you)
- Sand if needed
- Clean wood dust
- apply wood oil (leaving to dry for 24 hours)
Repeat 2 front/back wood application steps above around 2-3 times. (at each time leave to dry 24-36 hours)
- Or as you see necessary based on your experience.
- Also, you don’t necessarily need to apply wood oil on the back but it helps as good practice and adds a layer of protection.
You can give a light coat of wood oil every once in a while as you see the need. (year or so should be OK, or so I have heard)
5. Final product
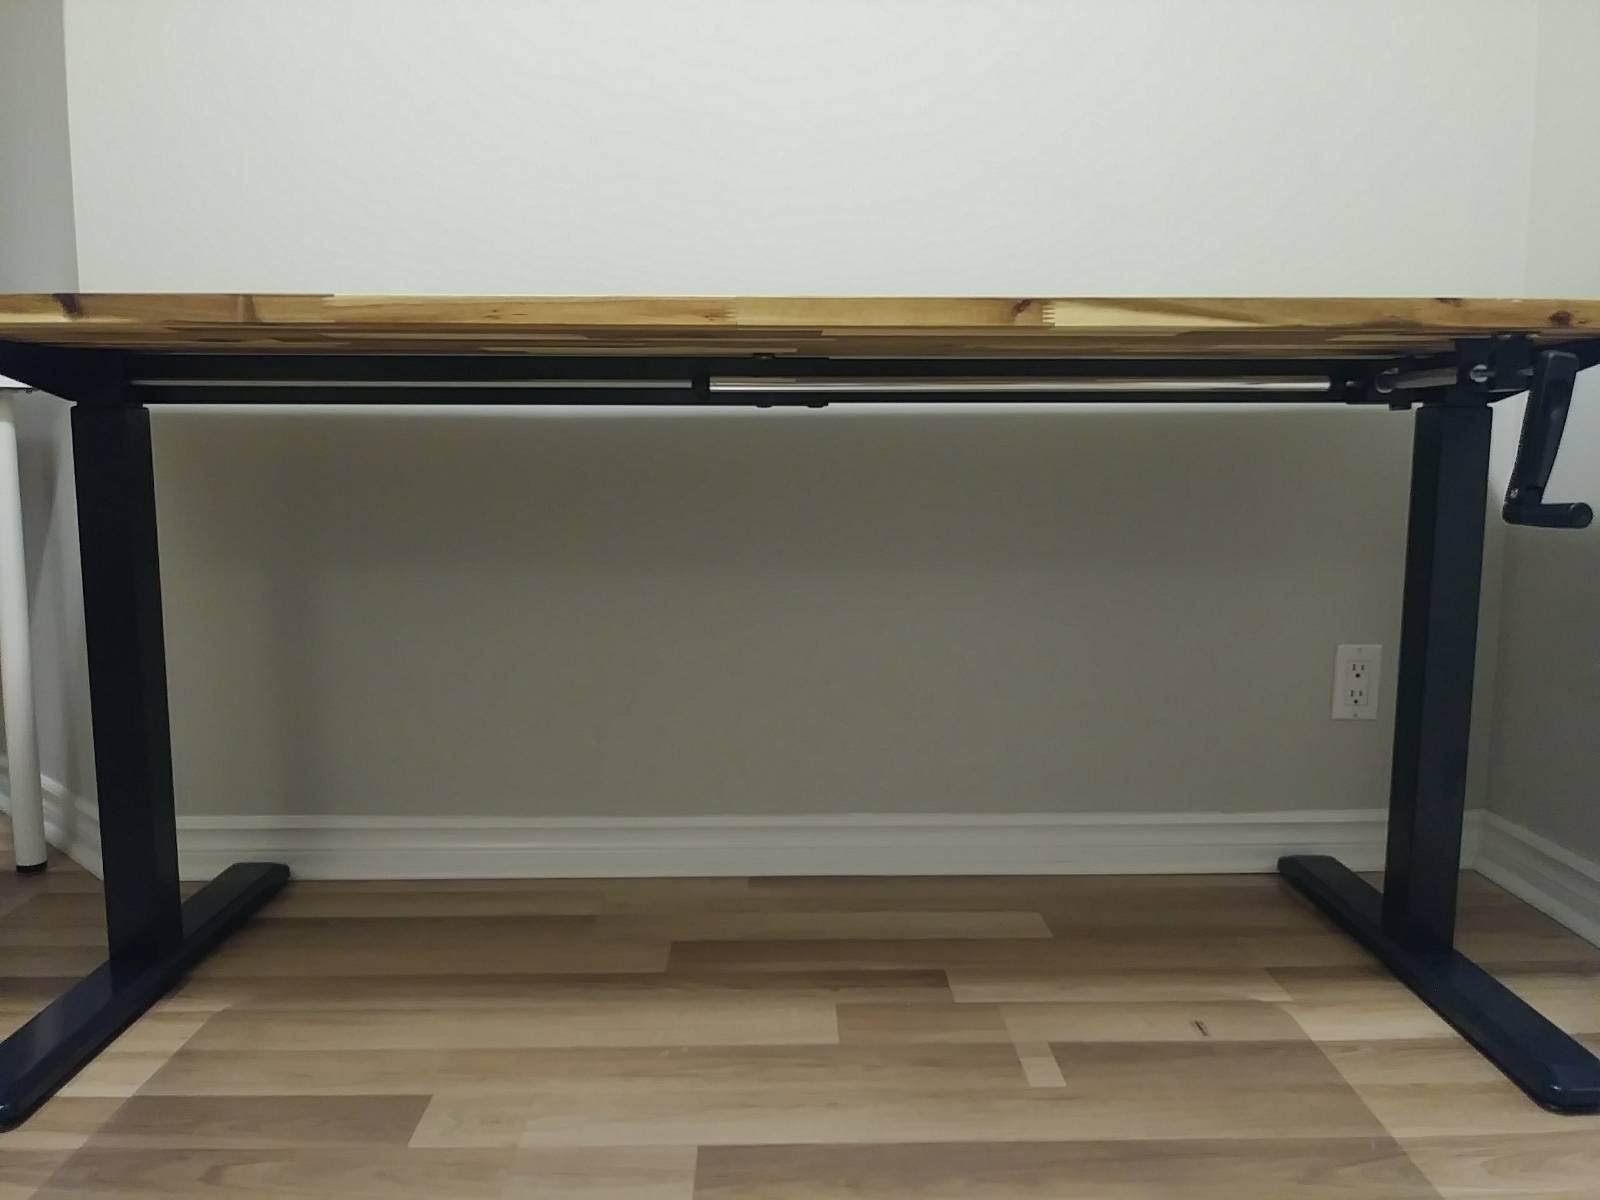
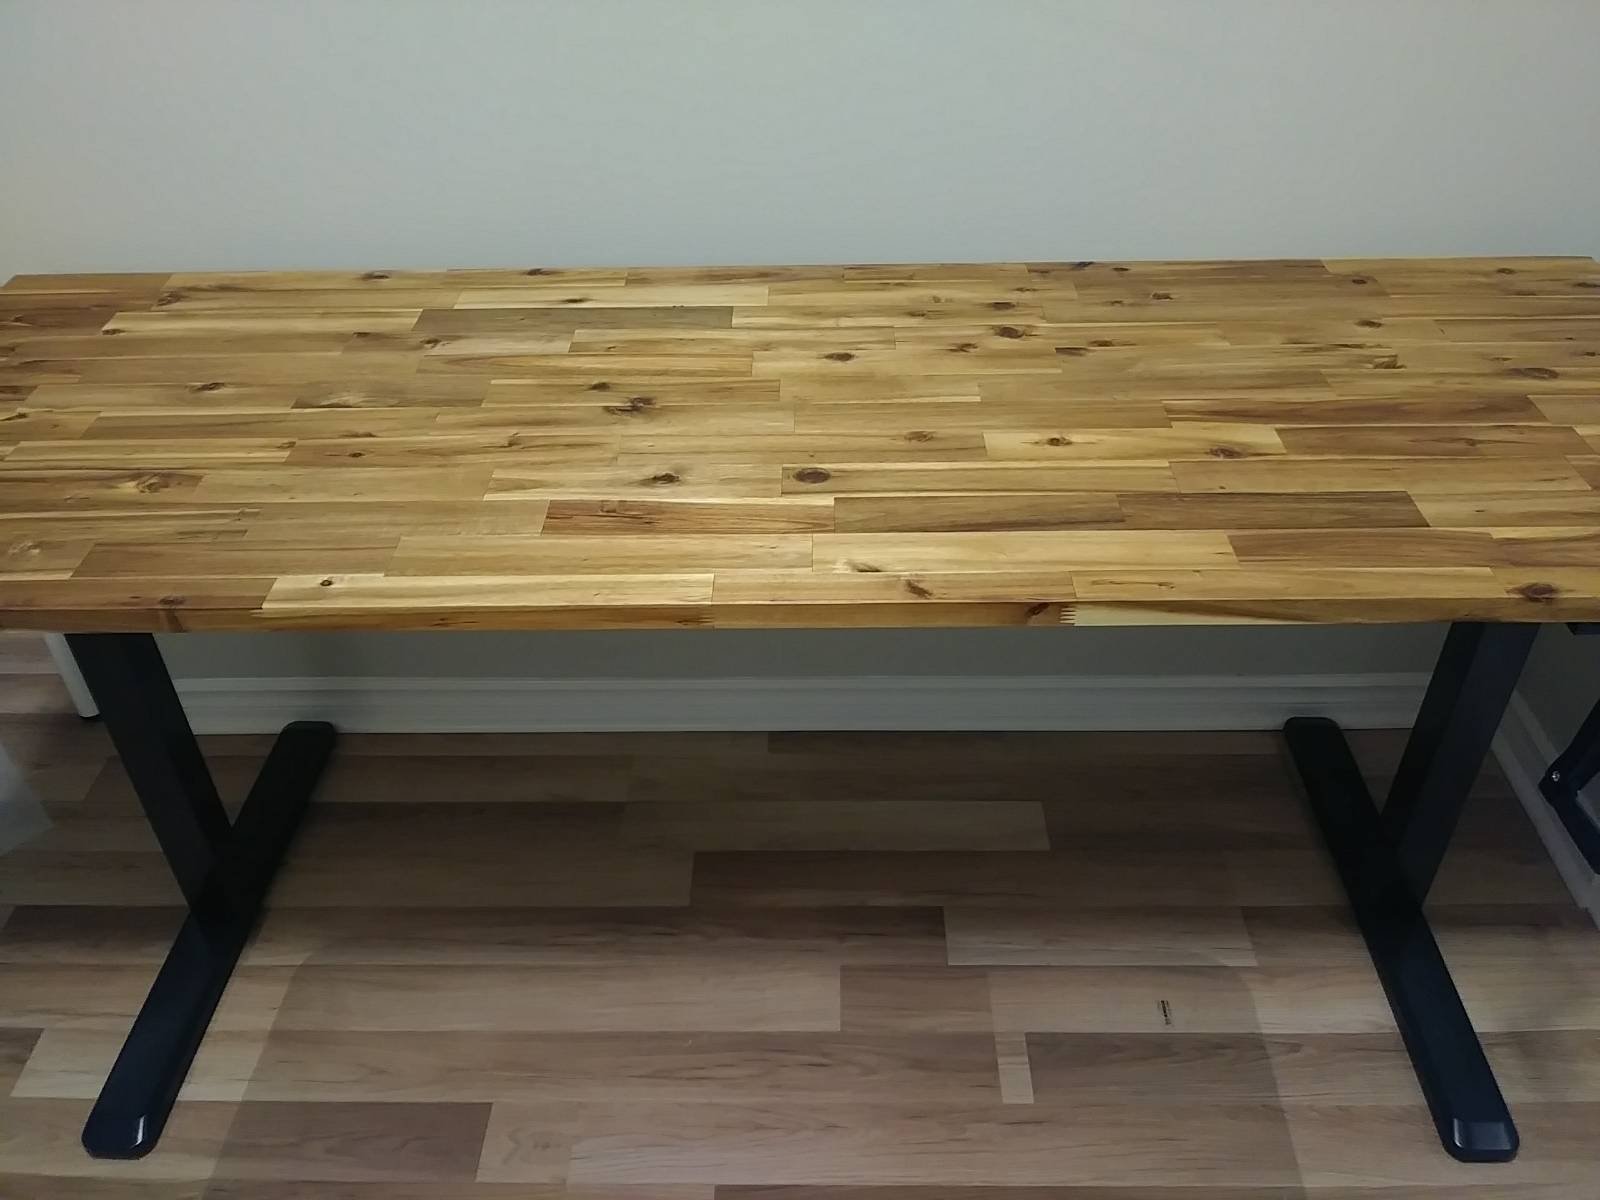
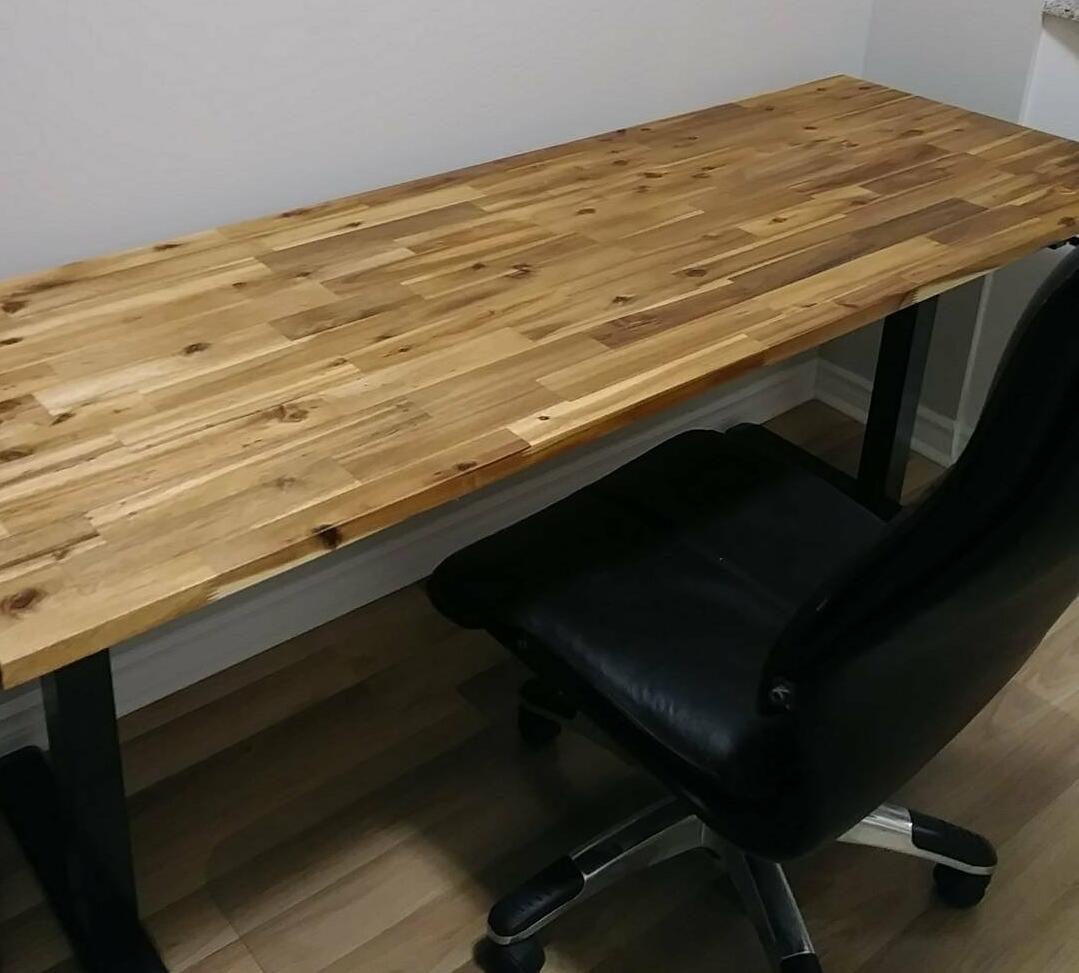
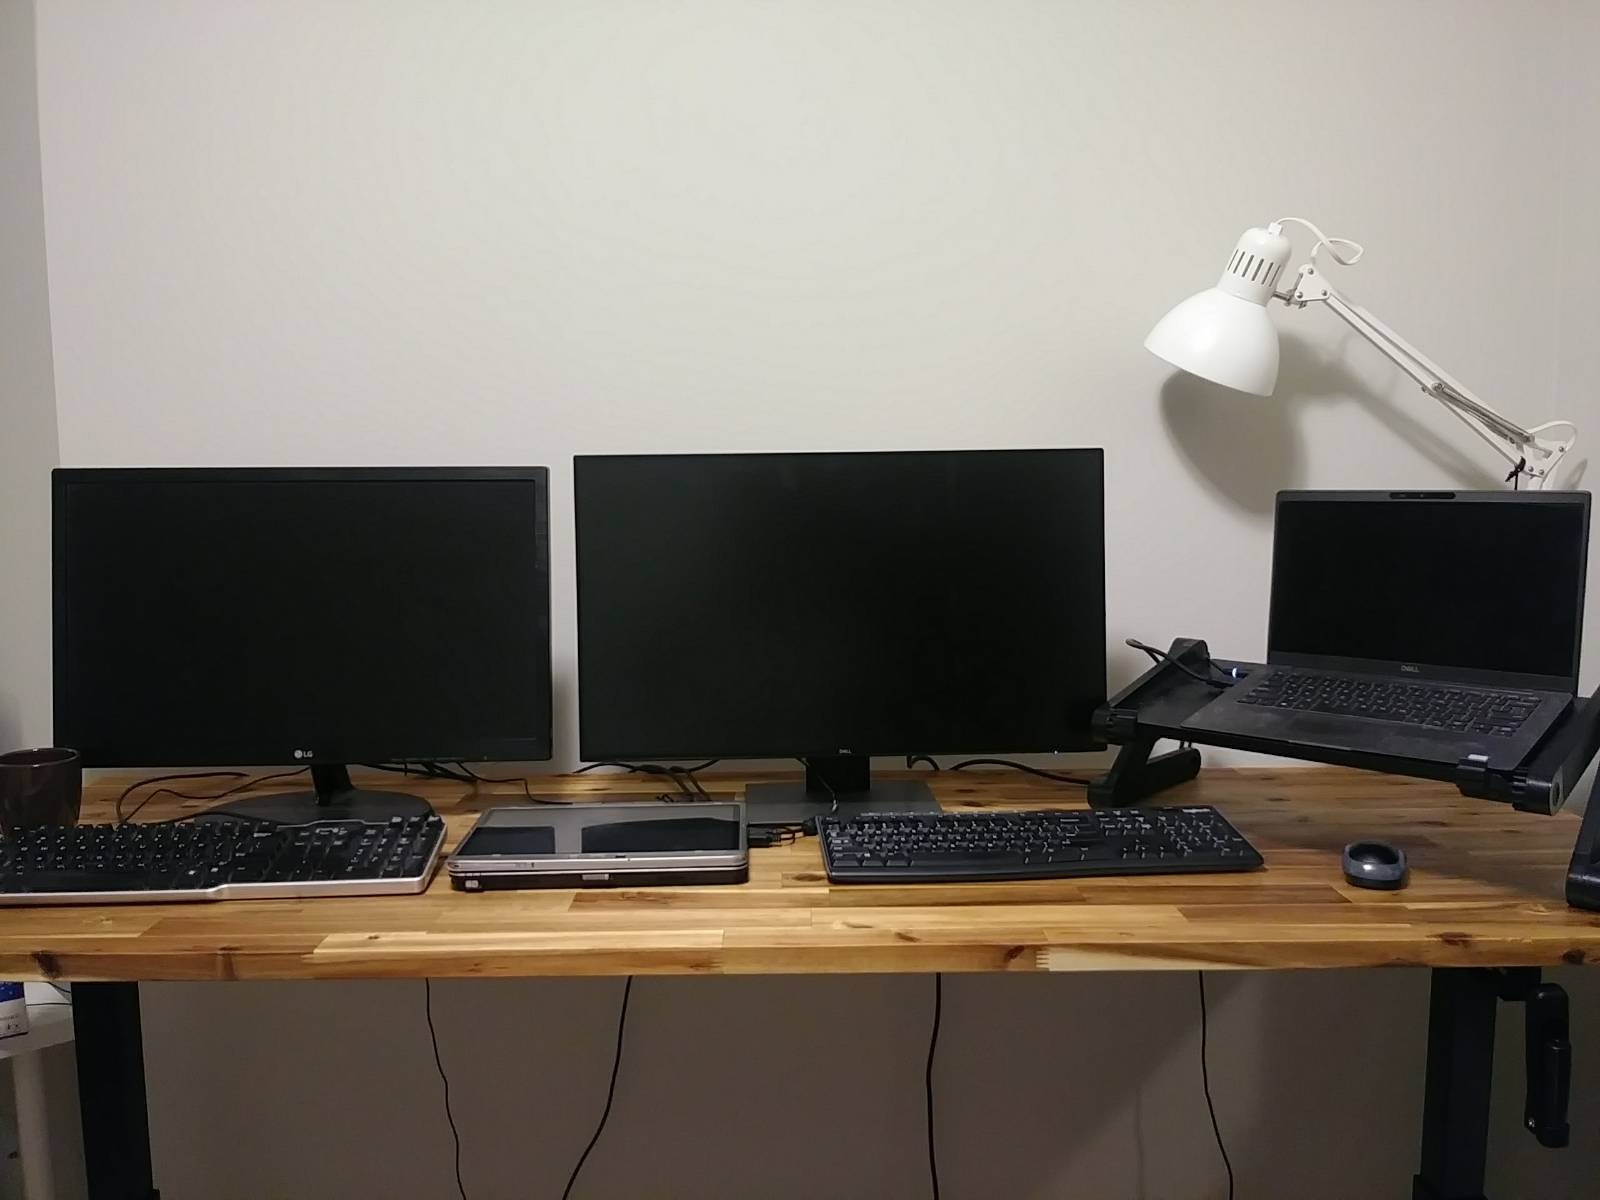
After your patience and hard work, you will be rewarded with a sturdy adjustable desk to serve you for years to come.
Leave your comments below (or comment directly here).
Thank you for your feedback.